Steps to Check Graphics Card Details in Windows 10
Method #1: Using Task Manager
Right-click on the taskbar and click on ‘Task Manager’ or you can just press ‘Ctrl+Shift+Esc’ keys simultaneouly to open task manager.
You will see the Windows 10 Task Manager now.Then, click on the ‘Performance’ Tab.
On the Performance tab, select the ‘GPU 0’ tab. The graphic card’s or the GPU’s manufacturer and model name will be displayed at the top right corner. This is your integrated graphics card details.
The GPU 1 tab is for your dedicated graphics card details.
That’s the first method on how to check you Graphics card model. In the second method you can use the Run command to check it.
Method #2: Using Run Command
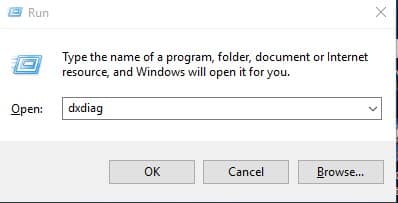
Press Windows Key + R on the keyboard to open the Run Dialog box.
On the Run Dialog box, enter dxdiag and hit Enter.
Select the ‘Display’ tab in the DirectX Diagnostic Tool you see. On the Display tab, check the GPU information to find the integrated graphics card.
The Render tab shows your Dedicated Graphics card details.
Conclusion You can use any of the methods: Task manager and Run command, to check the details of the Graphics card in your hardware. Read more:
How to Write Protect USB Drive in Windows 10?How to Enable the Photo Viewer in Windows 10Graphics Card Buying Guide: All You Need to KnowGet Genuine Windows 10 as Cheap as 250 INR (3 USD)